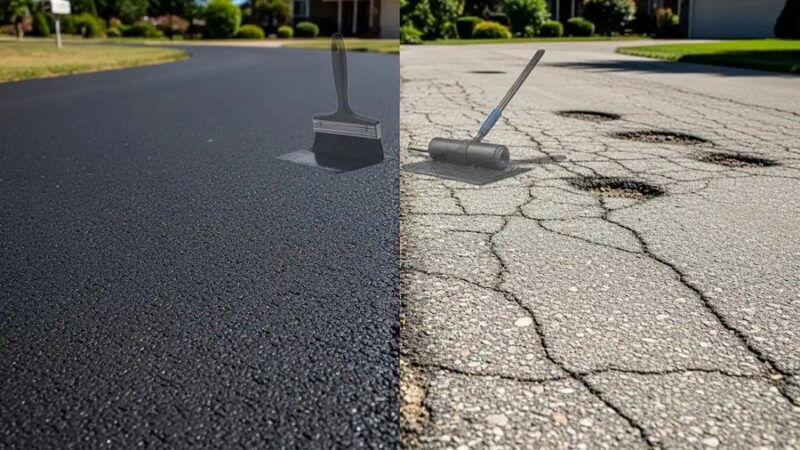
A leaking faucet is more than just a nuisance. It can lead to water and energy waste, mold and mildew, and even a flooded home.
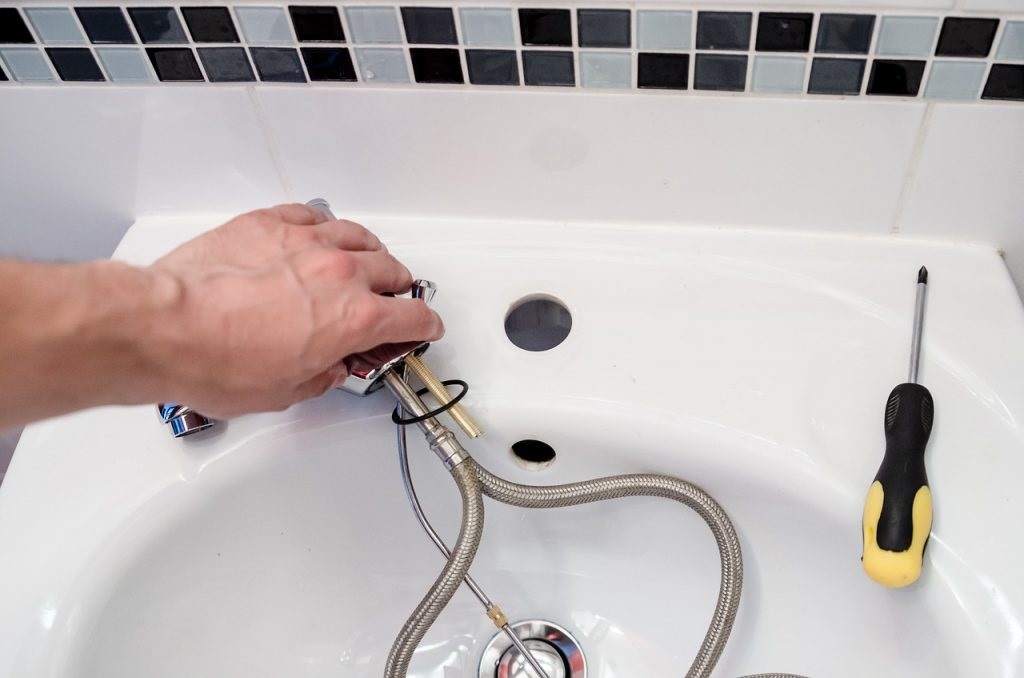
According to West Palm Beach plumber experts, the first step is to shut off the water supply valves underneath the sink. Next, remove the decorative cap from each handle. Then, use a flathead screwdriver to loosen the screw that secures the grip.
Inspect the Faucet
A leaking faucet is more than just an inconvenience. It can lead to puddles on the floor, water damage, and an increase in your water bill. The dripping noise can also be annoying, especially at night. Additionally, the moisture from the leaking faucet can foster mold growth and mildew, which can harm your health and damage your home or property.
The first thing you will need to do is shut off the water supply. Look for the fixture shut-off valves underneath your sink and turn them off. This will prevent your home from being flooded as you work to fix the faucet.
Once the water is off, remove the decorative cap from each handle. This is typically done with a flathead screwdriver. Once the decorative part is terminated, you will be able to see the screw that mounts the handle to the stem. You may need to use penetrating oil to loosen the screw.
Disassemble the Faucet
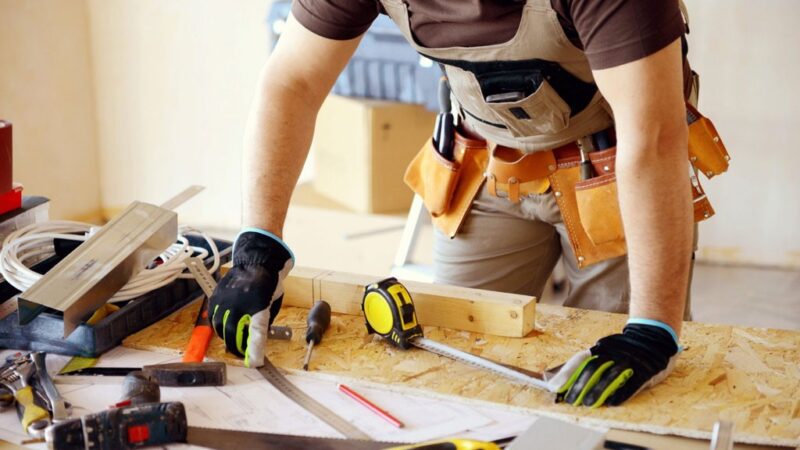
You need the correct parts for your type of faucet before starting the repair. Hire a West Palm Beach plumber or visit a local plumbing supply specialist and ask for help finding what you need. Describe the repair problem and ask if they have the parts you need in stock. They can ship you the amount or recommend another source.
First, turn off the water by turning the fixture shut-off valves beneath the sink (or the main water valve in your home if you don’t have the faucet fixtures with their own shut-off valves). Then drain the water line by opening the faucet and removing the supply lines.
Next, remove the handle knobs. If they have decorative caps, pry them off with a flathead screwdriver and use penetrating oil to loosen the screw that mounts the handle to the stem. Remove the handle and set the screw, then pull up on the handle to expose an Allen screw that holds the cartridge in place.
Remove the Faucet Parts
Before removing any faucet parts, taking a picture of the existing components is a good idea. This will help you get everything back in the same place when you reassemble it. If you’re using a kit containing new parts, ensure the old ones match in size.
Start by determining the type of faucet you have. One-handle faucets come in cartridge, ceramic disk, or ball types, while two-handle faucets are either cartridge or compression (a type of valve without a disc).
Once you know the kind of faucet you have, shut off the water supply by turning the valve underneath the sink. Next, remove the decorative cap from each handle. It may be labeled H for hot or C for cold. Once the lid is removed, pry off the small index cover on the side of the handle to reveal a hex-head screw. Loosen the screw with a wrench or a pocket knife, then lift off the handle.
Reassemble the Faucet
Depending on your faucet type, you will have 1-4 screws to remove that hold the handles (and the valve body) to the countertop. Use a box end or crescent wrench for these, as using pliers could mar the finish.
If a decorative cap is on each handle knob, pry it off with a utility knife or flathead screwdriver. Next, remove the screw that mounts each handle to its stem. You may need to use penetrating oil to loosen the screw. Once the screw is terminated, you can pull off each handle.
You should now see the valve seat and the hex nut holding the stem. Corrosion can cause the hex nut to become misaligned with the center, causing water leaks. If this is the case, a replacement stem and seat will be necessary. Replace these components in the same order they were removed, and coat all O-rings with the plumber’s grease.